Chocolate remains one of the world’s favorite treats yet the creation process demands a precise art form to achieve perfection. Tempering chocolate stands out as a fundamental method to obtain a flawless finish. Both skilled chocolatiers and beginners will benefit from mastering the technique of tempering chocolate because it greatly improves their chocolate creations. This blog post will guide you through the process of chocolate tempering and explain why it matters while teaching you to temper chocolate at home using the double boiler and, microwave techniques.
What is Tempering Chocolate?

The chocolate tempering process requires heating chocolate to precise temperatures before cooling it to stabilize the cocoa butter crystals. Chocolate consists of cocoa solids combined with cocoa butter and sugar. The melting process causes cocoa butter crystals to destabilize which results in the chocolate becoming streaky and soft when it cools. This is where tempering comes in.
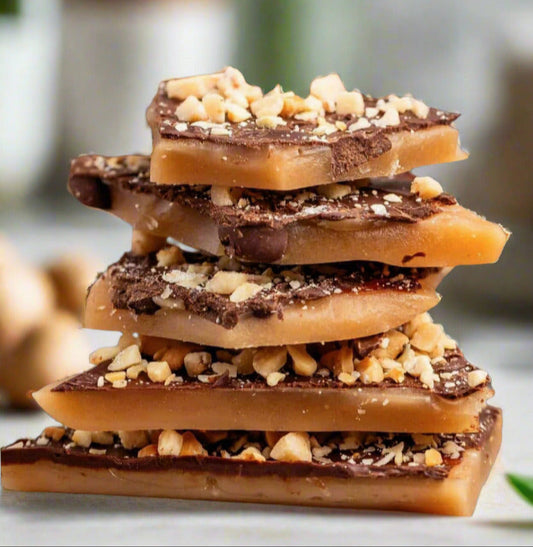
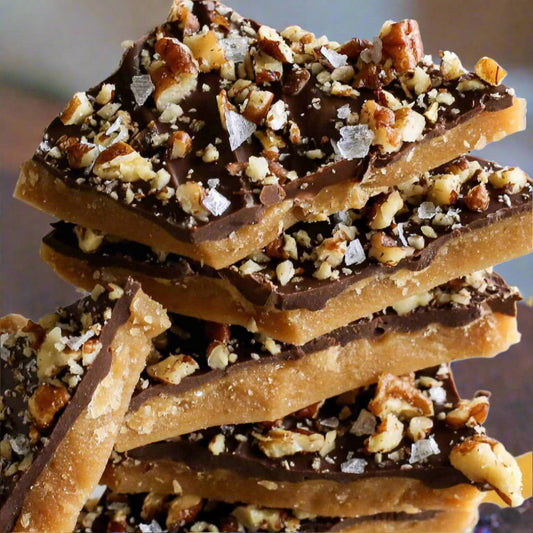
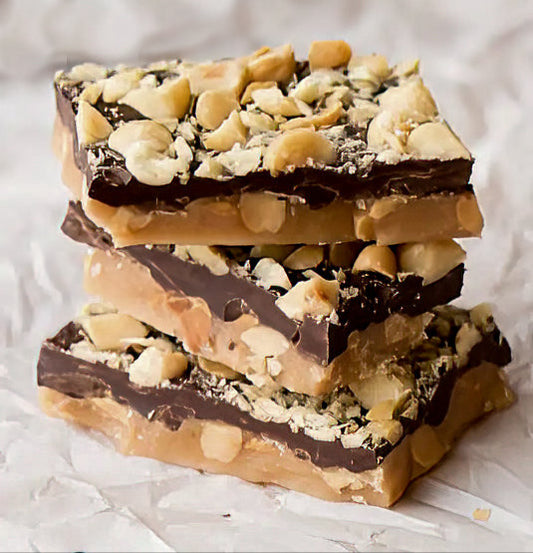
Through proper tempering chocolate achieves a stable crystal formation. Correctly tempered chocolate results in a glossy appearance along with smooth consistency and a crisp snapping sound when broken. Tempered chocolate plays a critical role in the production of chocolate bars, truffles and candy coatings. The correct tempering of chocolate not only extends its shelf life but also prevents it from melting quickly when held in your hand. All of our toffee is covered with tempered chocolate.

Why is Tempering Chocolate Important?
Tempering chocolate is crucial for several reasons:
1. Appearance: Tempered chocolate exhibits a smooth texture and a shiny appearance with a glossy surface.
2. Texture: Tempering chocolate produces stable cocoa butter crystals which give the chocolate its characteristic crisp snap when broken. Chocolate that has not been tempered tends to feel greasy and lacks firmness.
3. Work ability: Tempered chocolate provides better handling during dipping and molding applications. Properly tempered chocolate will show fewer streaks or cracks and will not develop uneven surfaces.
4. Melting Point: When chocolate is tempered correctly it melts at a higher temperature which prevents it from melting when held in your hands.
How to Temper Chocolate: A Step-by-Step Guide
Tempering chocolate sounds hard initially yet becomes manageable after practicing it a few times. Here’s a step-by-step guide on how to temper chocolate, with two popular methods you can try: The two most common methods for melting chocolate are the double boiler technique and the microwave approach.
Tempering Chocolate with a Double Boiler

The double boiler technique remains the favorite method for tempering chocolate among professional chocolatiers. Precise temperature control when tempering chocolate becomes possible because of this method. You don't have to buy an expensive double boiler; there are ways to do it with what you already have in your kitchen. Here is an article that talks about making a double boiler. Here’s how to temper using a double boiler:
Step 1: Prepare Your Setup
Place the chopped chocolate into a heatproof bowl. It's important to select a bowl that fits securely on top of the saucepan without making contact with the water underneath. Put about an inch of water in the saucepan and heat it until it reaches a simmer using medium heat.
Step 2: Melt the Chocolate
Set the heatproof bowl atop the saucepan carefully making sure the bowl remains above the water. While the chocolate melts stir it often to avoid overheating. Monitor the chocolate temperature carefully since dark chocolate requires heating to 110°F to 120°F (43°C to 49°C) while milk or white chocolate needs a slightly lower temperature.
Step 3: Cool and Seed the Chocolate
As soon as the chocolate reaches a melted state, take the bowl away from the heat source. The first step to temper chocolate requires you to reduce its temperature. The melted chocolate should reach a temperature between **82°F to 84°F (28°C to 29°C)** before proceeding. The cooling process can be aided by introducing 10-20% unmelted chocolate to the melted chocolate mixture. The process of adding more chocolate pieces to melted chocolate is known as "seeding" which promotes the creation of stable cocoa butter crystals.
Step 4: Reheat the Chocolate
Bring the chocolate bowl back to the double boiler to quickly reheat it after it reaches the necessary temperature. Dark chocolate requires reheating to between 88°F and 90°F (31°C to 32°C), while milk or white chocolate needs slightly cooler temperatures within the same range. Tempered chocolate reaches its optimal working state at the ideal temperature.
Step 5: Test the Tempering
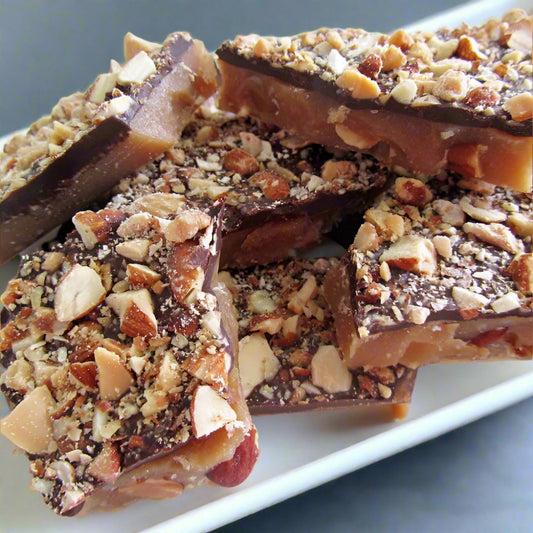
Test chocolate tempering by dipping a utensil into it and letting the chocolate cool at room temperature for several minutes. When your chocolate hardens and exhibits a glossy appearance while breaking cleanly you have achieved proper tempering. When you eat our chunky toffee with almonds for instance you will notice how the tempered chocolate snaps when you bite into it. That is a good indication that it has been tempered correctly.
Tempering Chocolate at Home: The Microwave Method

People seeking a faster and more convenient technique should consider tempering chocolate using a microwave. This method is ideal for situations where you lack a double boiler or need to speed up the process. Follow this step-by-step guide to temper chocolate using the microwave technique.
Step 1: Chop the Chocolate
Cut the chocolate into equal-sized segments which will ensure a uniform melting process. Place it in a microwave-safe bowl.
Step 2: Melt the Chocolate
Place the chocolate in the microwave and heat it for 20-30 second intervals at medium power. Even heat distribution requires stirring the chocolate after every microwave burst. Continue repeating the process until the chocolate reaches a fully melted and smooth consistency. It is essential to avoid overheating chocolate because excessive heat can lead to seizing or burning.
Step 3: Cool and Seed the Chocolate
After melting the chocolate, let it cool until it reaches a temperature between **82°F to 84°F (28°C to 29°C)**. The cooling process of the chocolate becomes faster when you mix in unmelted chocolate and stir.
Step 4: Reheat the Chocolate
Microwave the chocolate in short bursts until it reaches between 88°F and 90°F (31°C to 32°C). Regular stirring is necessary to keep the chocolate heating evenly.
Step 5: Test the Tempering
Test your chocolate tempering by dipping a clean spoon or knife into the chocolate and allowing it to harden at room temperature. When the chocolate develops a smooth, glossy finish and snaps when broken then you’ve tempered it successfully.
Tips for Successful Tempering Chocolate
- Selecting high-quality chocolate is essential because superior chocolate quality ensures better tempering results. Select chocolate that contains a substantial amount of cocoa solids to achieve optimal results.
- Always use dry utensils and bowls when working with chocolate because water can cause chocolate to seize.
- It is essential to track the chocolate’s temperature by using a kitchen thermometer. Successful tempering requires precise control of temperature.
- Tempering chocolate requires both time and careful observation. Take your time because incorrect tempering methods produce undesirable results.
Tempering Chocolate Easy: Troubleshooting Common Issues
Careful attention does not always guarantee a successful outcome. Use these troubleshooting tips to resolve any issues you face during the chocolate tempering process.
- Streaky or dull appearance in chocolate might mean it wasn't heated or cooled properly during tempering. Reheat the chocolate slowly before allowing it to cool back to its proper tempering range.
- The chocolate becomes grainy when moisture such as water or steam accidentally mixes with it. When chocolate seizes you can restore its smooth texture by mixing in a little vegetable oil or cocoa butter.
Conclusion
Mastering the tempering process is necessary for anyone who wants to craft chocolate confections that shine with gloss and offer a smooth texture along with a delightful snap. The essential element for successful chocolate tempering at home with either a double boiler or a microwave is careful temperature management combined with patience. Through practice and proper equipment tempering chocolate will become second nature enabling you to make professional-quality chocolate treats very quickly. Take your chocolate now to begin tempering because your taste buds will show their gratitude!